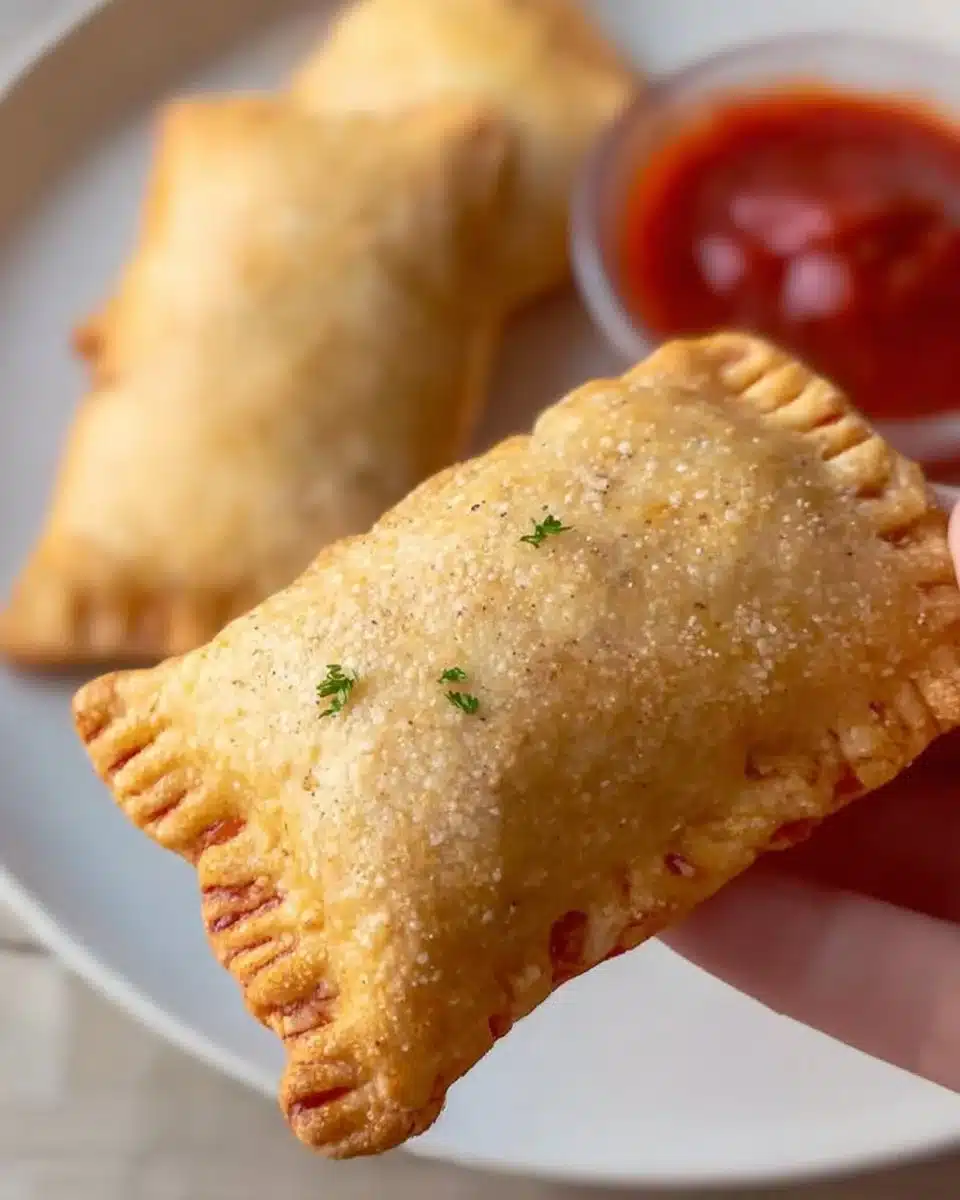
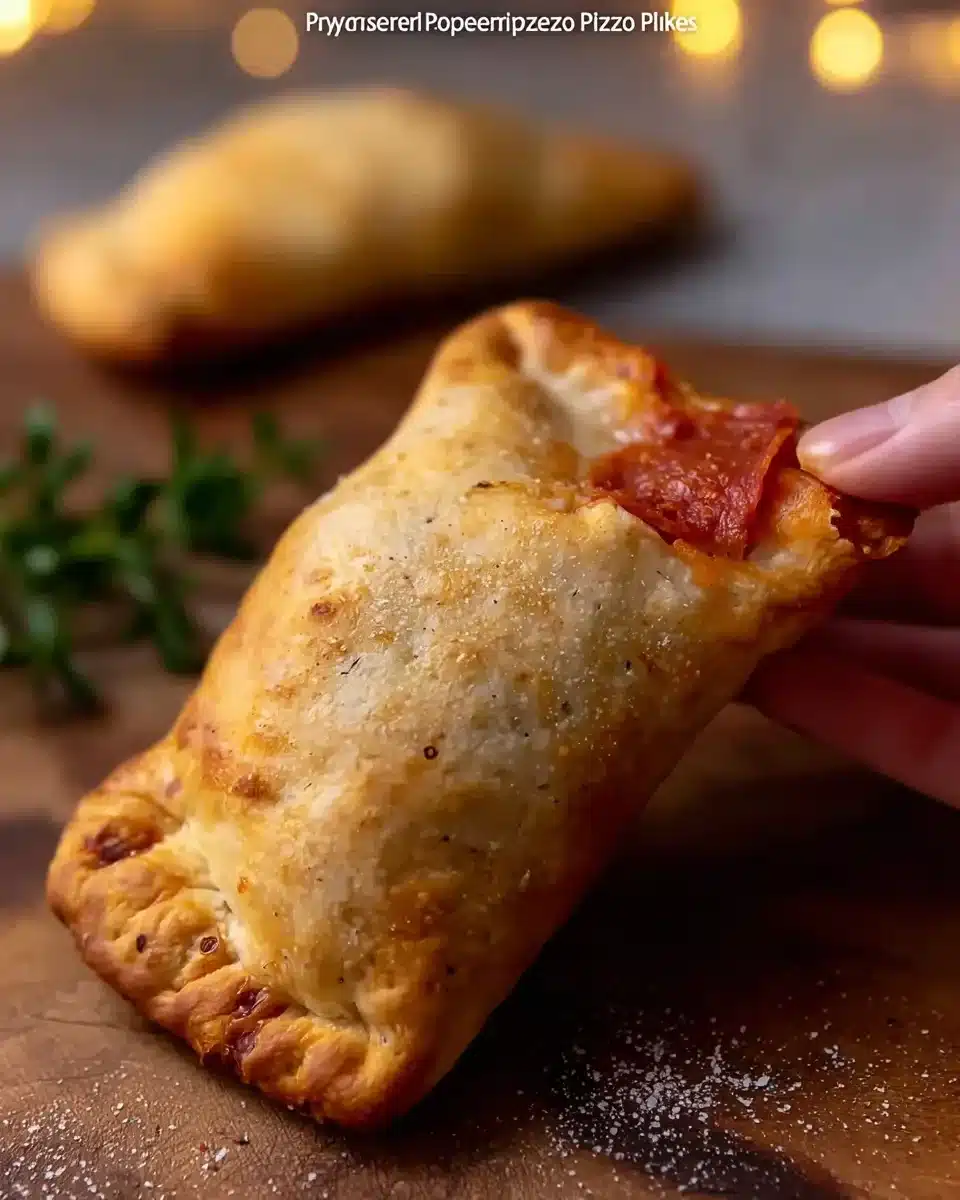
Homemade Pepperoni Pizza Pockets
Homemade pepperoni pizza pockets are a fun and easy snack that the whole family can enjoy. A perfect blend of flavors, these pockets combine the classic taste of pizza with the convenience of a hand-held treat. Whether you are serving them for lunch, dinner, or as an appetizer for a party, they are sure to please everyone’s taste buds.
Why Make This Recipe
Making homemade pepperoni pizza pockets is a great choice for several reasons. First, they are simple to prepare. With just a few ingredients and straightforward steps, you can whip up a batch in no time. Second, they are perfect for busy schedules. After a long day or on weekends, having an easy recipe like this allows you to fill your family’s bellies without spending hours in the kitchen. Lastly, you get to customize them to your liking! Whether you prefer extra cheese or want to add veggies, the possibilities are endless.
How to Make Homemade Pepperoni Pizza Pockets
Ingredients:
- 1 package refrigerated pizza dough
- 1 cup pepperoni slices
- 1 cup shredded mozzarella cheese
- 1/2 cup pizza sauce
- 1 egg (for egg wash)
- Italian seasoning (optional)
Directions:
- Preheat the oven: Start by preheating your oven to 400°F (200°C). This step is crucial as it ensures the dough cooks evenly and gets that perfect golden brown color.
- Prepare the dough: Roll out the pizza dough on a floured surface. Aim for a thickness of about 1/8 inch. You can use a rolling pin for this. After rolling, use a round cutter or a knife to cut the dough into circles or squares. The size is up to you, but keep in mind that smaller pockets may cook faster.
- Add pizza sauce: Place a spoonful of pizza sauce in the center of each piece of dough. Be careful not to use too much sauce, or it will spill out when you seal the pockets.
- Layer your toppings: Top the sauce with pepperoni slices and shredded mozzarella cheese. You can adjust the amounts based on your preferences. Some people love extra cheese!
- Seal the pockets: Carefully fold the dough over to create a pocket. Press the edges firmly to seal. For a tighter seal and a decorative design, use a fork to crimp the edges.
- Egg wash: Beat an egg in a small bowl, and then brush the tops of your pizza pockets with the egg wash. This will give them a beautiful shine and a nice brown color when they bake. If you enjoy herbs, sprinkle some Italian seasoning on top for added flavor.
- Bake: Place the pockets on a baking sheet lined with parchment paper. Bake them in the preheated oven for about 15-20 minutes, or until they are golden brown. Be sure to keep an eye on them in the last few minutes to ensure they don’t overcook.
- Cool and enjoy: After they bake, let them cool slightly. This allows the filling to set and makes them safer to handle. Then, enjoy your delicious homemade pepperoni pizza pockets!
How to Serve Homemade Pepperoni Pizza Pockets
Serving your homemade pizza pockets is simple and versatile. You can serve them straight off the baking sheet for a casual meal or snack. They pair well with a side of pizza sauce for dipping, giving you that classic pizza experience. If you’re having guests over, arrange them on a platter with sauces, such as ranch or marinara, for a fun appetizer spread. Kids particularly love these, so they are a great addition to any family movie night!
How to Store Homemade Pepperoni Pizza Pockets
If you have leftover pizza pockets, you can easily store them for future enjoyment. Make sure they cool completely before storing. Once cooled, place them in an airtight container or wrap them tightly in plastic wrap. They can be stored in the refrigerator for up to 3 days. When you’re ready to eat them again, simply reheat in the oven or microwave until warm.
For longer storage, you can freeze the pizza pockets. Place them in a freezer-safe container or bag, ensuring they are well sealed. They can be frozen for up to 2 months. When you’re ready to enjoy them, thaw them in the refrigerator overnight before reheating.
Tips to Make Homemade Pepperoni Pizza Pockets
- Use Fresh Ingredients: Everything tastes better with fresh ingredients. If possible, try to pick the freshest pizza sauce, cheese, and pepperoni available.
- Don’t Overstuff: It can be tempting to fill the pockets generously with sauce and toppings, but remember that too much can cause them to burst during baking. Stick to a spoonful of sauce and a reasonable amount of cheese and pepperoni for the best results.
- Experiment with Fillings: Feel free to get creative! You can add vegetables like bell peppers, mushrooms, or onions. Consider adding cooked sausage or even leftover chicken if you want to change things up.
- Serve with Sides: Think about what would complement your pizza pockets. A fresh salad, fruit, or even some crispy chips make great sides.
Variation
Homemade pepperoni pizza pockets can be customized in various ways. Here are a few ideas:
- Veggie Pizza Pockets: Replace pepperoni with your favorite vegetables like spinach, mushrooms, or peppers. This makes for a great vegetarian option.
- BBQ Chicken Pizza Pockets: Substitute pizza sauce with BBQ sauce and use shredded cooked chicken instead of pepperoni. This gives a completely different flavor.
- Cheesy Garlic Pockets: Mix garlic powder into your mozzarella cheese for a garlicky twist, or use different cheeses such as cheddar or provolone.
FAQs
1. Can I use homemade pizza dough?
Yes! If you prefer to make your own pizza dough from scratch, that works perfectly for this recipe. Just ensure it is rolled out to the appropriate thickness.
2. What can I serve with pizza pockets?
These pockets pair well with a variety of sides. Consider serving them with salad, fruit, or chips. You can also provide different dipping sauces like ranch, marinara, or garlic sauce.
3. How can I reheat leftover pizza pockets?
To reheat, place the pockets in an oven preheated to 350°F (175°C) for about 10 minutes or until heated through. You can also microwave them for about 30 seconds to 1 minute, but the oven will help keep them crispy.
4. Can I make pizza pockets ahead of time?
Absolutely! You can prepare the pizza pockets and freeze them before baking. Just take them out when you’re ready to bake. They may need a few extra minutes in the oven due to being frozen.
5. What types of cheese can I use?
While mozzarella is traditional, you can experiment with any cheese you like! Cheddar, provolone, or even a blend will work great. Just keep in mind how the melting properties change with different cheeses.
Creating homemade pepperoni pizza pockets is a straightforward process that allows for great creativity. They are perfect for any occasion and will surely become a favorite in your household. Enjoy the cooking process and happy baking!
PrintHomemade Pepperoni Pizza Pockets

Delicious homemade pepperoni pizza pockets that are perfect for snacks, lunch, or parties.
- Prep Time: 10 minutes
- Cook Time: 20 minutes
- Total Time: 30 minutes
- Yield: 4 servings 1x
- Category: Snack
- Method: Baking
- Cuisine: Italian
- Diet: None
Ingredients
- 1 package refrigerated pizza dough
- 1 cup pepperoni slices
- 1 cup shredded mozzarella cheese
- 1/2 cup pizza sauce
- 1 egg (for egg wash)
- Italian seasoning (optional)
Instructions
- Preheat the oven to 400°F (200°C).
- Prepare the dough by rolling it out on a floured surface to about 1/8 inch thick.
- Add a spoonful of pizza sauce in the center of each piece of dough.
- Layer with pepperoni slices and shredded mozzarella cheese.
- Seal the dough by folding over and pressing the edges firmly; crimp with a fork for decoration.
- Brush the tops with egg wash and sprinkle Italian seasoning if desired.
- Bake for 15-20 minutes until golden brown.
- Cool slightly before serving and enjoy!
Notes
Customize fillings with vegetables or different meats. Serve with dipping sauces like ranch or marinara.
Nutrition
- Serving Size: 1 pocket
- Calories: 350
- Sugar: 3g
- Sodium: 450mg
- Fat: 16g
- Saturated Fat: 7g
- Unsaturated Fat: 8g
- Trans Fat: 0g
- Carbohydrates: 38g
- Fiber: 2g
- Protein: 12g
- Cholesterol: 25mg
Keywords: pepperoni, pizza pockets, homemade snack, Italian cuisine, family-friendly