why make this recipe
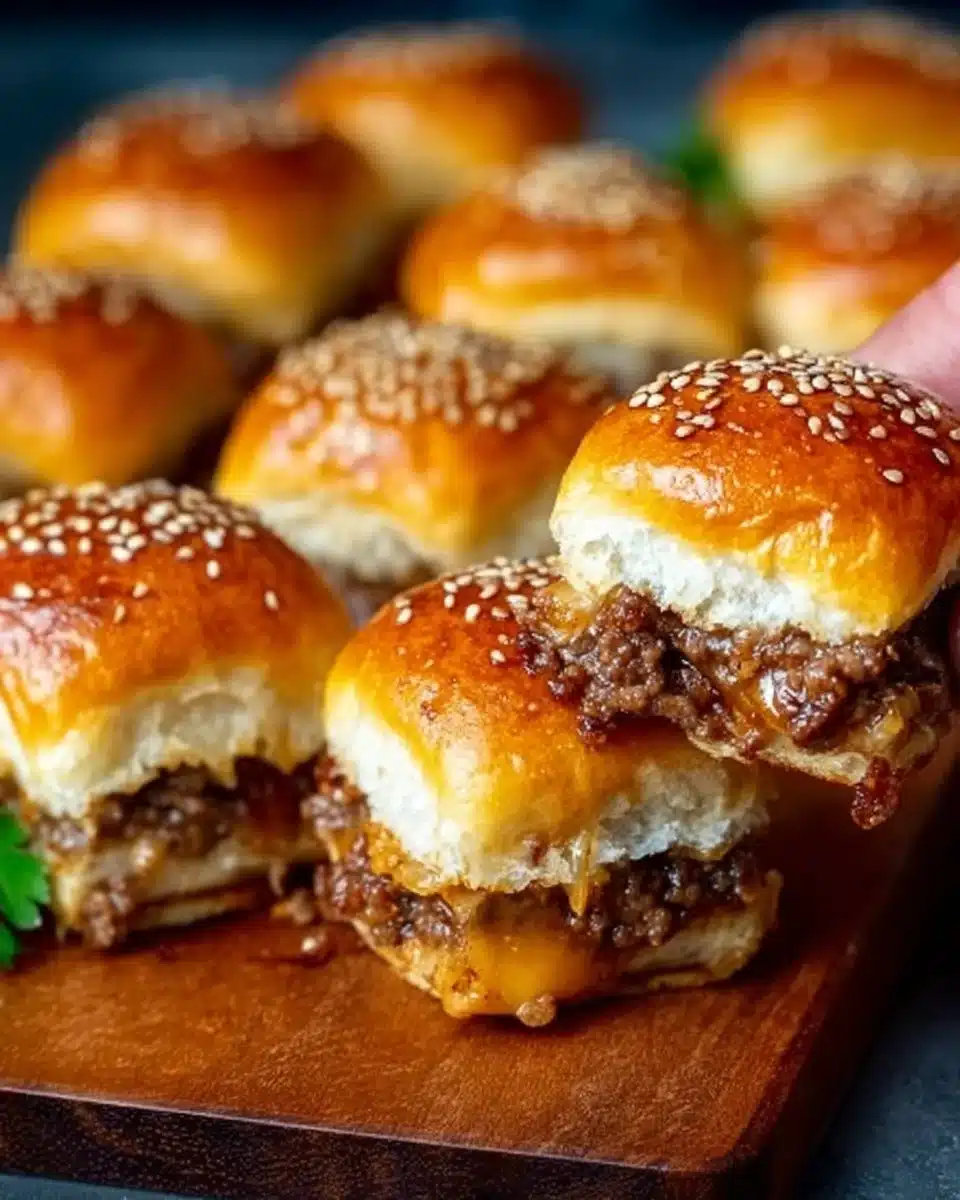
Juicy Cheeseburger Sliders are a delightful twist on a classic favorite. They are easy to make, packed with flavor, and perfect for any occasion. Whether you’re hosting a party, having a game night, or just craving a tasty snack, these sliders will satisfy everyone’s hunger. They are small enough to be finger food but filling enough to be a meal, making them a hit with both kids and adults. Plus, you can customize them to suit your own tastes, so no one will go home disappointed.
how to make Juicy Cheeseburger Sliders
Making Juicy Cheeseburger Sliders is a straightforward process that can be completed in just a few steps. Here’s how you can prepare these tasty treats right in your kitchen.
Ingredients :
- Hawaiian rolls
- Ground beef
- Cheese slices (American or cheddar)
- Pickles
- Onion (optional)
- Ketchup
- Mustard
- Salt
- Pepper
Directions :
Preheat Your Oven: Start by preheating your oven to 350°F (175°C). This is the perfect temperature to ensure that your sliders bake evenly and the cheese melts perfectly.
Cook the Ground Beef: In a skillet, cook the ground beef over medium heat. Use a spatula to break it apart as it cooks. Stir occasionally until it is browned and fully cooked. Season the meat with salt and pepper to enhance the flavor. This step is essential as seasoning is key to deliciously juicy sliders.
Prepare the Rolls: While the beef is cooking, slice the Hawaiian rolls in half. You only need to cut them horizontally, keeping them in one piece as a top and bottom. Place the bottom half of the rolls in a baking dish or on a baking sheet lined with parchment paper. This makes it easier to remove the sliders after baking.
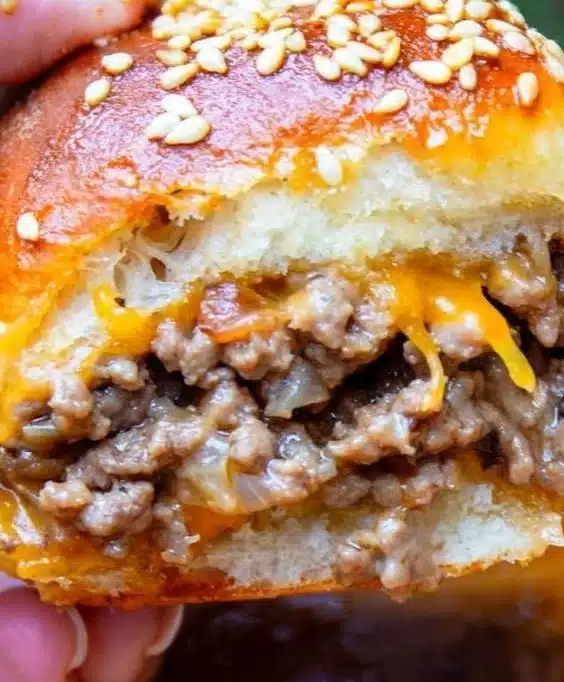
Layer the Ingredients: Once the meat is browned, layer your cooked ground beef on the bottom half of the rolls. Don’t skimp on the beef; make sure to cover all the rolls well. Next, add cheese slices on top of the beef. The heat from the meat will help melt the cheese nicely. Then, add pickles and any additional toppings you’d like, such as diced onions or your favorite condiments like ketchup and mustard.
Cap the Sliders: Place the top half of the rolls back on top of the fillings. If you want an extra touch of flavor, brush some melted butter on top of the rolls. This gives the tops a nice golden color and a buttery flavor when they bake.
Bake the Sliders: Place the baking dish in the preheated oven. Bake for about 10-15 minutes. Keep an eye on them; they’re done when the cheese is melted and bubbly, and the rolls are slightly golden brown.
Serve and Enjoy: Take the sliders out of the oven. Let them sit for a few minutes, then cut them apart with a sharp knife if they’re still stuck together. Serve warm and enjoy the burst of flavors in every bite!
how to serve Juicy Cheeseburger Sliders
Juicy Cheeseburger Sliders can be served in several fun and delicious ways. You can place them on a large platter, making it easy for guests to grab their own sliders. Pair them with a variety of dips and sides for added flavor. Some great options include:
- Dipping sauces: Offer ketchup, mustard, barbecue sauce, or even ranch dressing for dipping.
- Sides: Serve with classic sides like potato chips, French fries, or a simple salad for a more balanced meal.
- Presentation: For a fun twist, use colorful toothpicks to hold the sliders together, which makes them easy to pick up and adds visual appeal.
how to store Juicy Cheeseburger Sliders
If you have leftovers, don’t worry! Juicy Cheeseburger Sliders can be stored for later enjoyment. Here’s how to do it:
In the Refrigerator: Once the sliders have cooled, place them in an airtight container. You can store them in the fridge for up to three days. When you’re ready to eat, just reheat them in the oven at 350°F (175°C) until warmed through.
Freezing: For longer storage, you can freeze the sliders. Wrap them tightly in plastic wrap or foil, then place them in a freezer-safe bag or container. They can be frozen for up to three months. To enjoy, thaw in the fridge overnight and reheat in the oven.
tips to make Juicy Cheeseburger Sliders
Choose the Right Beef: For the best flavor and juiciness, use ground beef with a higher fat content, such as 80/20. This will keep the sliders moist while cooking.
Don’t Overcook the Meat: Cook the ground beef just until golden. Overcooked meat can lead to drier sliders.
Add More Flavor: For an extra flavor boost, mix some Worcestershire sauce or garlic powder into the ground beef while cooking.
Use Fresh Ingredients: Fresh pickles and onions can make a significant difference in taste. If you like more flavor, consider using sliced jalapeños or sautéed mushrooms.
Experiment with Cheese: Try different types of cheese! Pepper jack, Swiss, or even gouda can elevate your sliders.
variation
Feel free to customize these Juicy Cheeseburger Sliders to your taste. Here are a few variations you can try:
- BBQ Sliders: Mix BBQ sauce into the ground beef before cooking for a tangy twist.
- Veggie Sliders: Substitute ground beef with a plant-based meat alternative for a vegetarian option.
- Spicy Sliders: Add diced jalapeños to the beef for a spicy kick, or use pepper jack cheese.
- Mushroom and Swiss: Sauté diced mushrooms and mix them with the ground beef, then top with Swiss cheese for a gourmet feel.
FAQs
1. Can I make sliders ahead of time?
Yes! You can prepare the sliders up to the baking step. Assemble everything and wrap them tightly. Store in the fridge for up to a day. Then, bake right before serving.
2. What if I don’t have Hawaiian rolls?
If Hawaiian rolls are not available, you can use any soft dinner rolls or slider buns. Just ensure they are soft and able to hold the fillings.
3. Can I use different types of meat?
Absolutely! Ground turkey, chicken, or even lamb can be used. Just remember to adjust cooking times if necessary, as these meats may cook differently than beef.
4. Can I add other toppings?
Definitely! Feel free to add your favorite toppings such as lettuce, tomato, avocado, or different kinds of cheeses. The beauty of sliders is their versatility.
5. How can I spice up the sliders?
For a spicier flavor, consider mixing in a bit of hot sauce with the ground beef or topping with spicy salsa or jalapeños.
These Juicy Cheeseburger Sliders are sure to become a regular at your family gatherings or casual get-togethers. Their delectable taste and easy preparation make them the perfect choice for any host looking to impress. Enjoy crafting these delicious sliders and watch as they quickly disappear from the table!
PrintJuicy Cheeseburger Sliders

Delightful and easy-to-make cheeseburger sliders, perfect for any occasion.
- Prep Time: 15
- Cook Time: 15
- Total Time: 30
- Yield: 6 servings 1x
- Category: Appetizer
- Method: Baking
- Cuisine: American
- Diet: Omnivore
Ingredients
- 12 Hawaiian rolls
- 1 lb ground beef
- 6 slices cheese (American or cheddar)
- Pickles
- Onion (optional)
- Ketchup
- Mustard
- Salt
- Pepper
Instructions
- Preheat your oven to 350°F (175°C).
- Cook the ground beef in a skillet over medium heat, breaking it apart as it cooks.
- Prepare the Hawaiian rolls by slicing them in half horizontally and placing the bottom half in a baking dish.
- Layer the cooked ground beef on the bottom half of the rolls, followed by cheese slices, pickles, and other toppings.
- Cap the sliders with the top half of the rolls and optionally brush with melted butter.
- Bake in the oven for 10-15 minutes until cheese is melted and rolls are golden.
- Serve warm and enjoy!
Notes
For added flavor, mix Worcestershire sauce or garlic powder into the ground beef.
Nutrition
- Serving Size: 2 sliders
- Calories: 380
- Sugar: 5g
- Sodium: 450mg
- Fat: 20g
- Saturated Fat: 10g
- Unsaturated Fat: 8g
- Trans Fat: 0g
- Carbohydrates: 20g
- Fiber: 1g
- Protein: 22g
- Cholesterol: 60mg
Keywords: cheeseburger, sliders, party food, easy recipe, finger food